Showing posts with label guest blogging. Show all posts

Sunday, December 8, 2013

Guest Post - Yael from Derech Hayetsira

Hi Everyone!

I'm Yael from the Israeli blog
Derech Hayetsira.
I started my blog about a year ago, when I began crafting again (mostly cards) during my maternity leave. On my blog I post about activities with kids (I have three adorable kids), interesting events and of course, my projects.
I enjoy Tal's blog and proud to be her guest.
Today I made a card for a new baby using the Paper Piecing Technique.

First, I chose a cardstock to be the base for my card.

Paper Piecing Card Tutorial


Then I folded it in the middle (I want to write inside).
Paper Piecing Card Tutorial


I drew a stork on a piece of white paper.

Paper Piecing Card Tutorial
        Then I chose some nice cardstocks and papers for the different parts of the stork (I chose solid papers, because my background is a bit busy).
         I copied the different parts on the papers I chose (on the wrong side).
Paper Piecing Card Tutorial
Pay attention to the direction of the stork, it's important to copy all parts in the same direction.
Cut all the parts of the stork.
Paper Piecing Card Tutorial
I glued all the parts together and drew around with a black pen (I think I should have used a thicker pen).
I used thick double sided tape for the eye.

Paper Piecing Card Tutorial
Here's my card -
Paper Piecing Card Tutorial

Congrats!

Yaelush

Wednesday, November 27, 2013

Inspiration for Hanukkah and a quick menorah tutorial

Sharon from the sweet Israeli blog Gonna Be 40 invited me to write a Hannukah post for the 8 days of miracles series she has on her blog.

8 Days of Miracles on Gonna Be 40

Since the original post is all in Hebrew, I translated it for you, and here it is in English...

So we're still licking our wounds from the huge summer vacation (plus almost another month of holidays for Rosh Hashana, that we had here in Israel), and now Hanukkah is knocking on our door. If you celebrate Hanukkah, I guess you also find yourself hosting a lot these days. Almost every day we have guests over – our friends, friends of the kiddos, family, neighbors – and we light candles in our 342 Hanukkah Menorah's (the kids are making maybe 100 of them every year!!!) and eat latkes and Hanukkah doughnuts. So to help you have the most amazing Hanukkah party, here's a round-up of some great Hanukkah ideas.

Oh, and how can you have a Hanukkah without a DIY menorah?… Scroll down to see an easy tutorial for a natural menorah.
 
So any good party needs some nice decorations, right? On the blog Style at Home you can find a cute tutorial for dreidel garland. Anyone said Christmas?…

הדרכה לשרשרת נורות סביבון

And if you want to involve the kids in all the preparations, you can have them make these great dreidel paper dolls from the blog Bringing Chesed Home.

שרשרת סביבונים

If you want your Hanukkah to look a bit like Christmas, here's a beautiful Hanukkah tree!

עץ חנוכה

The Etsy shop FrogPrincePaperie offers DIY Hanukkah printables. The set includes a banner, cupcake toppers, cupcake wraps, dreidel boxes, food labels and more.

קבצים להדפסה לחנוכה

The most important moment of any Hanukkah party is the lighting of the menorah, of course. From all the menoras I've seen online, this one, from Aunt Peaches, is my favorite! I'm definitely making one this year!

חנוכיית קרנף

For the snacks you can make marshmallow dreidels

סביבוני מרשמלו

And even Hanukkah gelts (these cute chocolate coins), like the ones on Oh Nuts.

מטבעות שוקולד

And you will need something to hold these coins. How about these dreidel boxes from Martha Stewart?

אריזת סביבון לממתקים

If you need more ideas, take a look at my Hanukkah Pinterest board.

Now, like I promised, a menorah tutorial.
The whole idea about this menorah is to look around you and use stuff that you can find in your surrounding. You can also follow my steps below, but feel free to go wild!
חנוכיה ממוחזרת

Search for a nice, straight branch. If it has a section taller than the other, it's even better, this is where your Shamash will go.
חנוכיה ממוחזרת

You can leave your menorah natural or paint it. My son wanted a colorful one, so we painted… You can use spray paint or acrylics.
חנוכיה ממוחזרת

Just like that -
חנוכיה ממוחזרת

Now find a pine cone, try to find one with scales open. Again, you can choose if to paint or leave it that way. If you decided to paint, you can paint now or after you disintegrate the scales (I'm lazy, so I painted before disintegrating it…).
חנוכיה ממוחזרת

Disintegrate the scales.
חנוכיה ממוחזרת

Assembly time. Use hot glue gun to glue 3 scales at a time in a flowery shape. Make 8 of these plus one Shamash.
חנוכיה ממוחזרת

חנוכיה ממוחזרת

In the center of each flower, glue a small, simple, candle holder.
חנוכיה ממוחזרת

That's it, your menorah is ready!
חנוכיה ממוחזרת

Happy Holidays!

Tuesday, November 26, 2013

My Menorah Tutorial is on Sugar Bee Crafts!

Do you know the awsome blog Sugar Bee Crafts? Well, if you don't, make sure to check it out n-o-w! It's one of the best crafty, DIY blogs out there!

And while you're there... I'd love you to check out my menorah tutorial for Hanukkah...

DIY Hanukkah Tutorial on Sugar Bee Crafts

Saturday, November 23, 2013

Rainy Day Chalkboard Tutorial - Guest Posting at Plucky's Second Thought

Can't remember whether I told you or not, but I'm Plucky's Second Thought new DIY contributor. If you don't know Plucky's blog, you should check it out - she has great tutorials, blogging tips, recipes and more cool stuff.

My first post there is a tutorial for a cute chalkboard that you can easily make. Check it out here.

Rainy Day Chalkboard Tutorial

Monday, September 30, 2013

I'm Guest Posting Over at Someday Crafts!

I'm so excited, I love Someday Crafts and I'm guest posting there today! Come and check out my easy Fabric Covered Decorative Letters Tutorial!
Fabric Covered Decorative Letters Tutorial

Saturday, September 21, 2013

Guest Post - Small Apartments in the Big City

Today on The Crafeteria please welcome Yonit, an interior design from the Israeli blog Small Apartments in the Big City. Yonit and her photographer, Avivit, designed, renovated, upgraded and basically just completely renewed Neta's (Avivit's daughter) room. Look how pretty it turned out (and if you want to guest post on The Crafeteria, please email me!) -

---------------------------------------------------------------------------------------------------------------------------


Hi all!
When Avivit, my photographer, talked to me about Neta's (her daughter) room, I immediately accepted the challenge. Avivit is so creative, she always has these cool ideas for locations and shooting angles. Neta, her 4 year old daughter, is also special herself. Totally adorable. And add to all that Omer, their man, who is a great handyman. Well, What is there to talk about? Off we go!
So here's where we started it all: a room packed with furniture, toys, decorations and a lot of mess.
Designing children room - Guest Post by Yonit Stern

Before you begin re-designing a room, you have to organize it first. Each family usually has someone that hoards and someone that throws. I won't tell you who is which in this family, but let's just say that they all were very efficient and managed together to cut in half (!) the stuff in the room. The things we kept we placed in a big closet and a shelving unit with boxes and changed Neta's bed to a big girl's bed.


Designing children room - Guest Post by Yonit Stern

On the wall, like in painting, we also needed a clean, white canvas to work on. So we removed the wall decals and painted the room white.
Designing children room - Guest Post by Yonit Stern

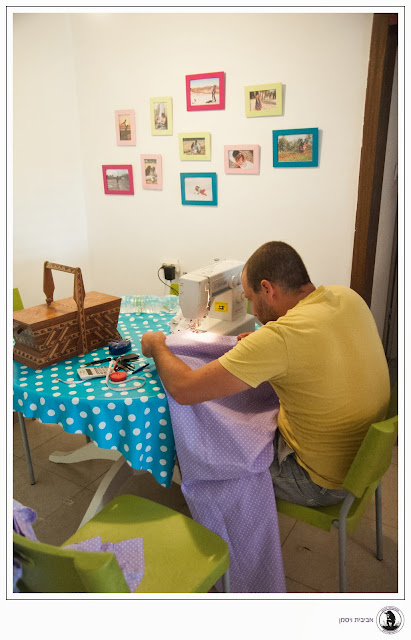
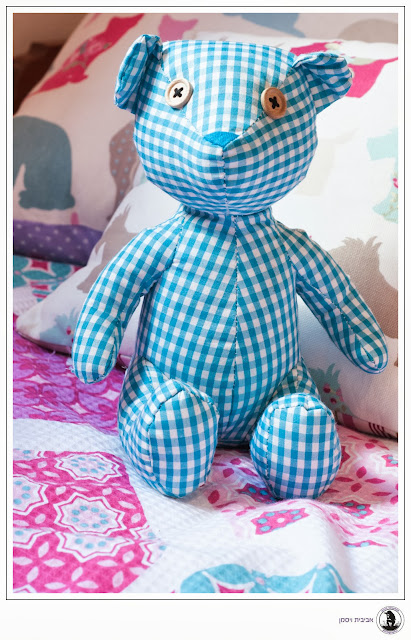
We wandered around in the fabric streets of Tel Aviv and bought some fabrics we liked. Later on we made from them a bed cover, pillows and curtains, with the help of Daniel Gur Schwartz, and Omer helped with the last stitches. In Tel Aviv we also found some wall paper leftovers and used them to make a wall border with a ruler and an X-Acto knife.


Designing children room - Guest Post by Yonit Stern
We also found out that in this family the cobbler's shoes are never fixed - Neta has so many beautiful photos and no photo album! So we decided to fix that - we sprayed paint on Ikea frames and hung three pictures of her on the wall. We also added a rug and... that's it, here's how it looks now:

Designing children room - Guest Post by Yonit Stern
עיצוב חדר ילדים - פוסט אורח יונית שטרן
Neta was happy to help with the accessories...
 
Designing children room - Guest Post by Yonit Stern

Designing children room - Guest Post by Yonit Stern


Designing children room - Guest Post by Yonit Stern


Designing children room - Guest Post by Yonit Stern


Designing Neta's room became a family experience, in which each one contributed his talents and abilities. We had a great time and hope you also like the result :)

Thank you so much for having me on The Crafeteria! It is definitely the place to get more inspiration...


Friday, September 20, 2013

Come Visit Me...

I'm over at one of my favorite blogs (that has one of the cutest names ever) today , Sumo's Sweet Stuff. Come visit me there (and stay for a while, because it is really a great blog).